Tuesday, October 16, 2012

Handmade cards and gift tags


If you've ever been super into crafts and card making. Yolanda is your go to gal!  I've known her for a few years and she seriously is one crafty mama! She makes and designs the best handmade cards, and gift tags that I have ever seen! Definitely and inspiration! Check her out! 


And seriously, lets start making some handmade cards! Especially with the Holidays near! Those cards at Hallmark run for minumum $5 a card nowadays.. and the majority of people who receive them throw them away anyways. Why not make one they would feel bad throwing away? ;-)

Are you into cardmaking? I'd love to hear from you!
Also looking for lovely ladies to guest post on my blog!

Please e-mail me if you are interested!


Hosting my First Giveaway

In honor of my Birthday and coming of age { 24- eeeek! }, I am hosting a giveaway! So let your friends know, add me on GFC, and start winning those prizes!! Starts November 17, 2012 xoxo a Rafflecopter giveaway

Thursday, October 11, 2012

Beautifying My Blog


via google


Hey Everyone! Please bare with me as I am currently in the process of Beautifying my Blog.  So you may see some strange changes until it's completely finished.  Some changes may stay, some may just be there to be tested. If you have any suggestions or great ideas for me, I would love to hear them!  In the meantime I'll be giving my blog a makeover! { Wish me Luck- Webdesign is not my forte }


xox Lisa

Friday, October 5, 2012

Gold Chain Bracelet.. on its way to me!

This Beauty is on its way to me.
http://cdn2.bigcommerce.com/server4900/0ce73/products/349/images/1568/B326_2__60652.1344560494.800.800.jpg
Purchased from T + J Designs.
 $15 plus $5 shipping, and for signing up on their website I received $10 off bringing my total price to $10! That's RAD!
I am in love with their jewelry! Seriously, Check it out!!

Plus Gold Thick Chain Bracelets are so in right now. I can't wait till it comes in!  Also you can check out T + J Designs blog here


I will post photos when I receive my beautiful bracelet! Stay tuned!

xoxo Lisa

P.S. What are your weekend plans? I'm heading to Pismo Beach for the weekend to support my boyfriends 12U Baseball Teams tournament. So I'm excited to relax and getaway for the weekend =)

Also, Scribble-n-Dash is having a giveaway! Coffee Cozie's, along with the mug as well as some Starbucks coffee!! Click here to enter giveaway


Thursday, October 4, 2012

The Trendy Envelope Clutch

I have had my eye on these Day Purses for quite some time.  They are so cute, and so IN this fall season.  I love them in bright colors to compliment and add some pizazz to any outfit. 

Here are some I found that I fell in love with the colors, and the look! You wont break the bank (or your back) with these beauties:

Foreign Exchange- $14.00

Envelope Clutch- $23.00 Foreign Exchange


http://bluebirdhouse.files.wordpress.com/2011/04/envelope-clutch.jpg


What do you think? Will you be purchasing a Day Purse this season? I'd love to hear your thoughts.

-Lisa

Sunday, September 30, 2012

DIY- not just for Halloween

<a href="http://www.bloglovin.com/blog/4089633/?claim=vkrsuh84as4">Follow my blog with Bloglovin</a>


Ok, this is probably the most EASIEST DIY project ever.. seriously.
I got the idea from Tiffany Leigh Interior Design. Go check out her blog. She is such a creative person!

You don't have to be creative, or artistic in any way, and you certainly do not have to break the bank on this one .

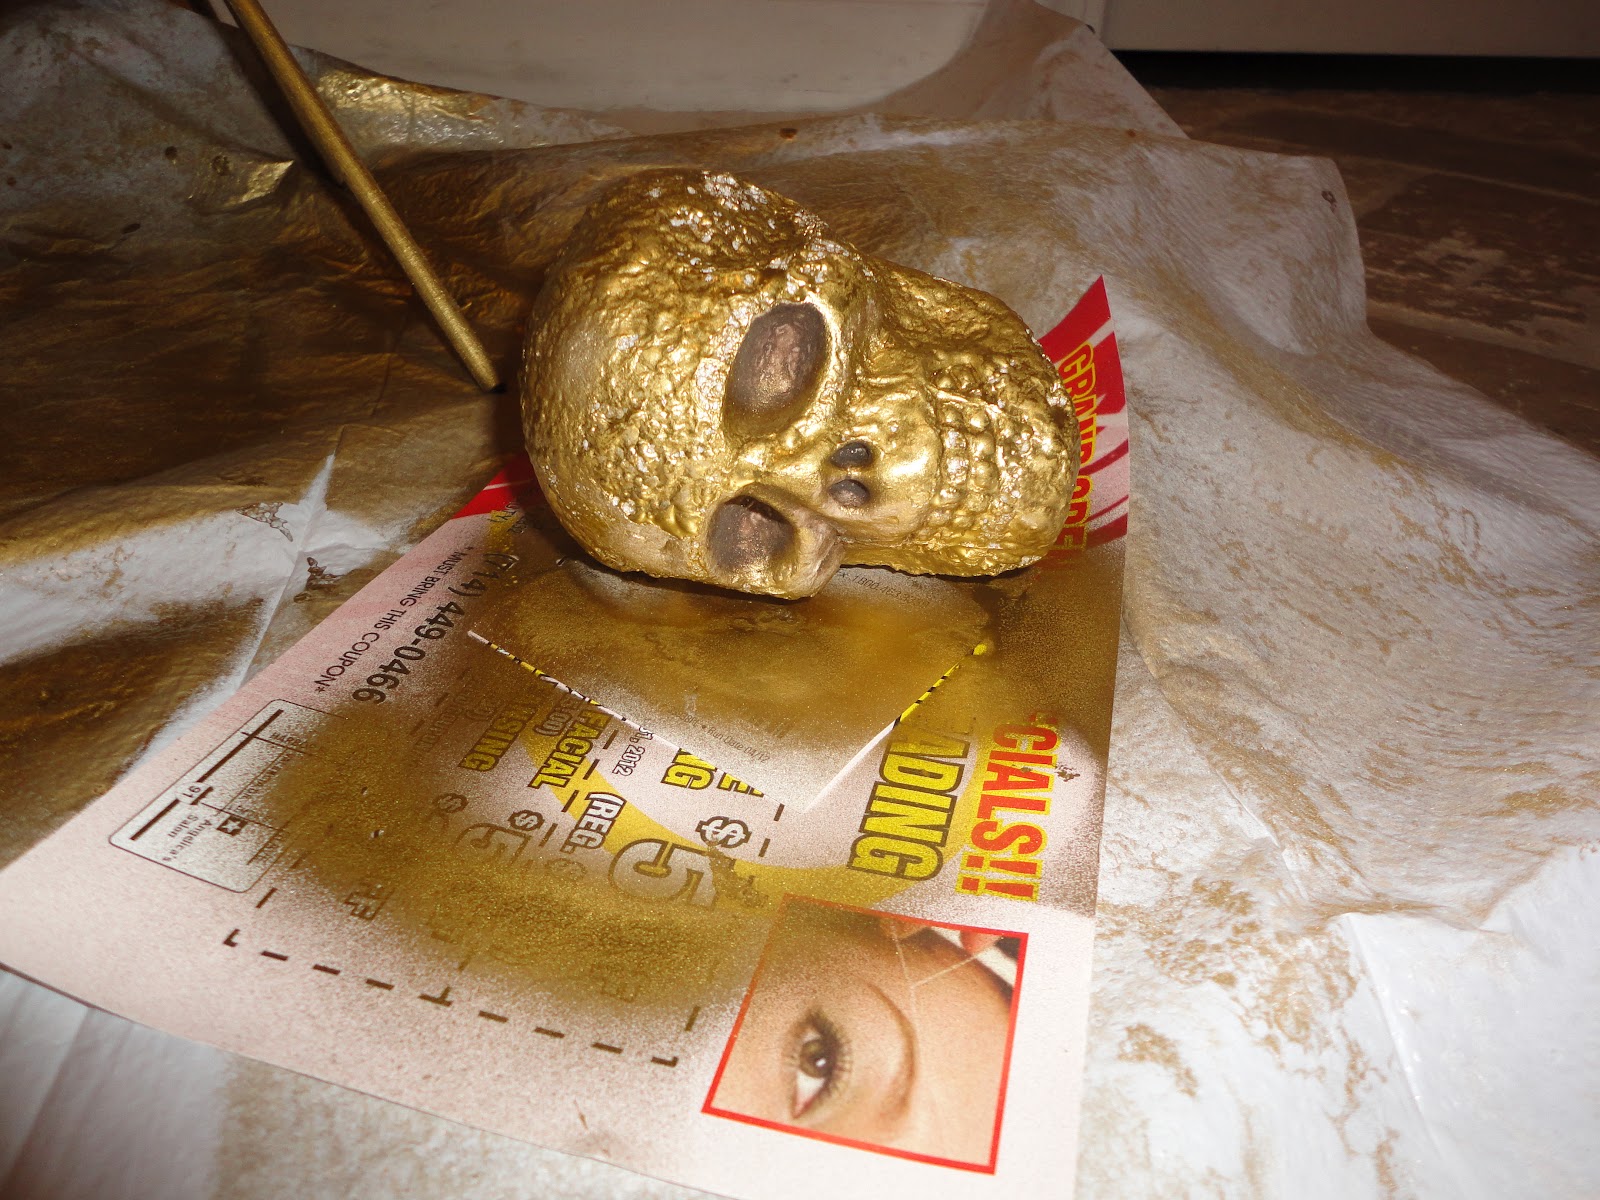
I bring to you.. DIY spray-painted skull.

This beauty looks great in the living room, on the coffee table. Or even up next to your favorite photo. It is not ONLY a Halloween decoration, but looks great year round as well.


You can find these skulls for $1 at your local craft store. ESPECIALLY this time of year {Halloween}.. I bought mine at Michael's Crafts.
You will need:

-Styrofoam Skull,
-metalic gold spray paint

-gold glitter
-mod podge

- small paintbrush


 First, take the foam skull and spray paint it metallic gold. let it dry.


After it is dry, put some mod podge around it in some areas with a paintbrush, and sprinkle the gold glitter around it.


And let it dry, and you're done! No Joke! That's all it takes and you've got yourself not only a Halloween decoration, but can be used all year long! 


Stay tuned for another DIY that involves mod podge, glitter, and something you can wear everyday!


xoxox Lisa

Wednesday, September 26, 2012

DIY Sea Urchin * Starburst

Ok, I have been seeing these amazing Sea Urchins all around me lately; in magazines, stores, and on TV & Movies.  I fell in love with them and searched online to buy one only to find out they cost over $100. Way out of my budget! So I decided I would tough it out and make my own! Today, I would like to show you a super easy and CHEAP DIY project which I absolutely loved the result!  & for less than $10 YOU can make one as well! For a while now I have been in love with gold decorations and these lovely beauties :
 
And they are inspired by Jonathan Adler's sculptures, and Kelly Wearstler which are running for over $2,000
and this DIY is only $10.
it's worth it I tell ya!

Here's what you will need :
-Styrofoam balls ( try for the smaller sizes. they usually run around $2-3  )
- gold metalic paint ( or try a different color if you'd like )
-wooden sticks ( I used two sizes - about 4 sticks)
-scissors to cut the wooden sticks
- mod podge ( to seal the deal )


 First I cut the wooden sticks and began to stick them into the styrofoam ( I also used glue to seal the wood into the styrofoam )


 Then I took the urchin and spray painted it. ( make sure to do this outside-- the paint fumes are toxic and you don't want to breathe them in)

Let dry, and you have an amazing new addition to your coffee table, night stand, or bookshelf! Get creative with it! Try different colors, or even add glitter or rhinestones! Let me know if you try this project, and I'd love to see your completed piece! 
Here is where I currently have mine:
I think I am going to add more sticks and make it more golden, maybe add some rhinestones to the end of the sticks. We'll see.  Ill post more photos when I complete it.
Stay tuned for the next project which involves some more gold paint... and a decoration not only good for Halloween, but year round!

Also, I noticed that the Curlby team and Hannah from Champagne Lifestyles on a Beer Budget had this DIY as well ;) Great minds think alike!


Saturday, September 15, 2012

DIY Chevron painting

Last week I was really eager to get my creative juices going.  I have been wanting to get back into painting again, but have been so busy with two jobs, and life just happens.  Anyways, I managed to MAKE time for myself so that I can paint. 

I am so in love with this saying right now -- "  There are Seven days in the week and someday isn't one of them."

That is so true. I took that to heart and MADE time to get what I wanted done.  & that was to Paint! I got the idea inspiration from the lovely Nancy Ramirez

Ok. Here are the supplies you will need :

- Artist Canvas/ Canvas Board   { I used the Winsor & Newton ones I found in my closet }
  any size will work.  They have 11 x 14,  10 x 10, 15 x 30 , and so many sizes, so Choose what size you like the best.

-Acrylic Paints.  I used the -Basics- brand because I already had like 100 colors from when I was using them in school.  You can use ANY colors you think you want in your home or office

-paintbrushes ( Large and small) 

-Water ( to dip brushes in )

-blue painters tape  ( this is the easiest to peel of your artist board

Optional items:

- paper towels, pencil, stencils

Ok, once you have all your supplies ready.. it's time to get started


1 )  Here I just started throwing colors on my canvas.. doesn't look too pretty yet.  Do not get discouraged!
Make sure your brushstrokes are going the same direction.

 Splash of color here.. Splash of color there
 And here is the result of colors.  Make Sure they are dry before applying tape.
Because I am using acrylics, the most time it will take is 20-30 minutes, and I put a fan 
by it to speed up the process.
2) I started applying the tape in a diagonal format, to create the CHEVRON pattern.

Make sure you press the tape on, so no paint goes underneath it.
3) THEN, I took my white acrylic paint and started painting on top of the color.

4) Let it dry completely, then peel the tape off and the result is:


Colorful isn't it? and so easy! EVEN if your not the artistic type.
This project is great for everyone!


After I made this one, I wanted to try a different pattern with the tape, and here is the end result :


Are you inspired to paint? Let me know if you have any similar DIY or ideas for your home.


xoxox Lisa